Ultimate guide to testing your pool water
How to Test Your Pool Water (the Right Way)
If you own a pool, testing your water isn’t just a suggestion, it’s essential. Clean, balanced water keeps swimmers safe, protects your equipment, and prevents your beautiful backyard retreat from turning green and gross.
The good news? You don’t need to be a chemist to get it right.
In this blog, we’ll break down how to test your pool water like a pro, and avoid common mistakes that cost time and money.
Why Test Pool Water in the First Place?
Your pool may look fine, but appearances can be deceiving. Water that’s too acidic can corrode metal and damage your pool liner. Too alkaline, and you’ll battle scale buildup and cloudy water. Miss the chlorine mark, and bacteria or algae can thrive.
Testing gives you a snapshot of your pool’s health, and lets you fix small issues before they turn into big (and expensive) problems.
What You’ll Need
There are 3 main ways to test your water:
1. Test Strips
- Easiest option at home
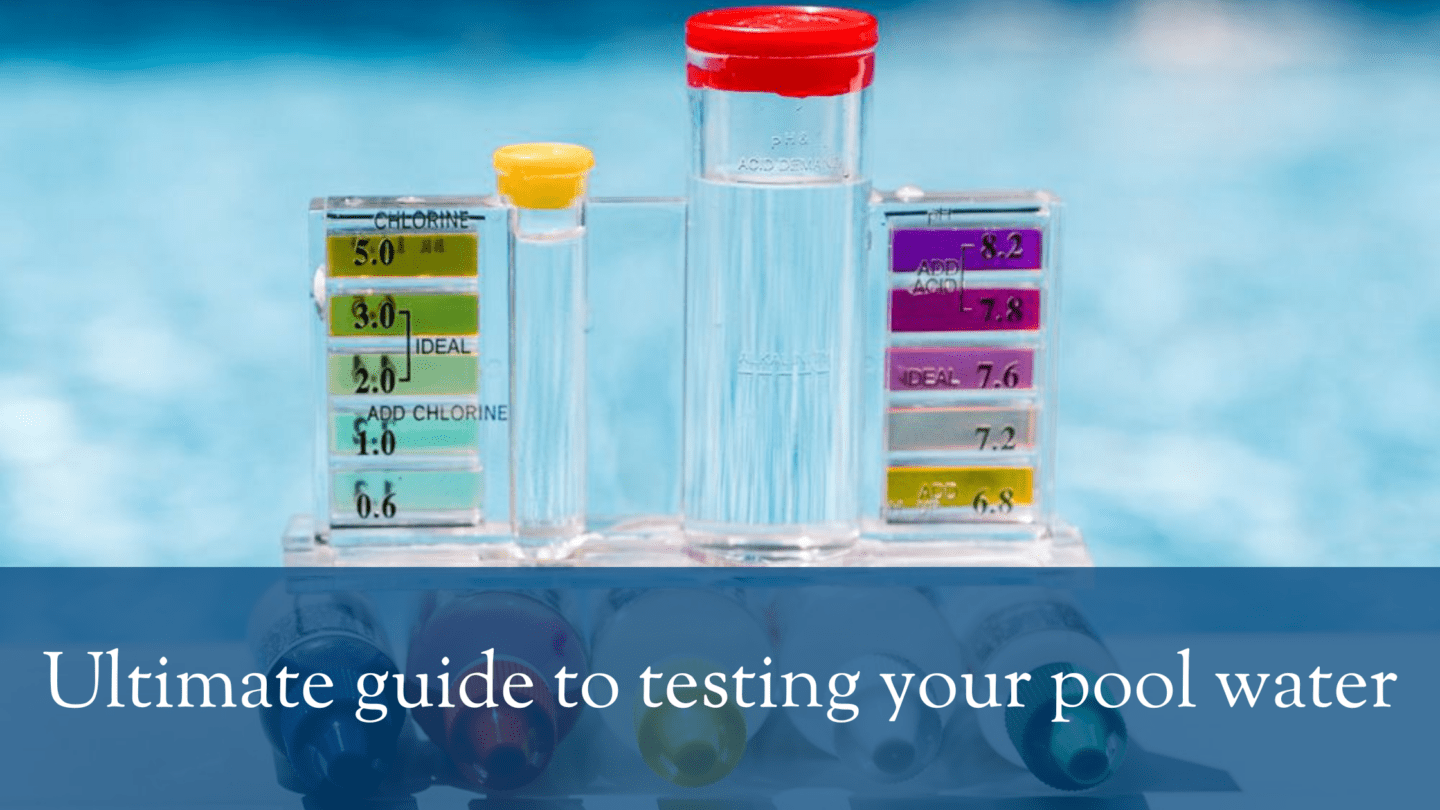
- Just dip into the water, wait a few seconds, and match colors to the chart
- Great for quick, regular checks
2. Liquid Test Kits
- More precise than strips
- Use reagents (liquids) to test pH, chlorine, alkalinity, and more
- It takes a few extra minutes, but worth it for accuracy
3. Taking a sample to your pool professional for analysis
- High-tech and highly accurate
- Best for pool owners who want exact numbers fast
When to Test Your Pool
- Chlorine & pH: At least 2–3 times per week
- Alkalinity, Calcium hardness & Cyanuric acid: Once a month (or more often if you’re troubleshooting)
- After a rainstorm, party, or heavy use: Always test!
How to Test Pool Water – Step by Step
Here’s a basic step-by-step using test strips (the process is similar for liquid kits):
- Collect a water sample
- Use a clean cup or container
- Reach elbow-deep (about 18 inches) below the surface
- Avoid taking water near jets or skimmers
- Dip the test strip
- Submerge for the time listed on the package (usually 2–3 seconds)
- Don’t shake it off or wipe it
- Wait and compare
- Hold the strip still for 15 seconds
- Compare the colors to the chart provided
- Take action
- Use your results to adjust chlorine, pH, alkalinity, etc.
- Follow chemical product instructions carefully, more isn’t better!
Pro Tips
- Store strips and reagents in a cool, dry place
- Rinse your test vials after every use
- Keep a log of your readings to spot trends and prevent future issues
Final Thoughts
Testing your pool water isn’t a chore, it’s part of owning a clean, safe, and sparkling pool. Once you get into a rhythm, it takes just a few minutes, and the payoff is huge: fewer problems, lower costs, and more swimming time.
Want to take the guesswork out of water testing?
Visit our retail store with a water sample, we can run your sample in our machine and within minutes provide you with step-by-step pool care.